Organize Your Overflow Stuff on a Budget
Do you have a small house and a small budget?
If you live in a smaller home, storage space can be limited. Often, overflow seeps into other areas of your home.
There are only so many organizing ways to optimize a small space and sometimes you just have to look offsite!
With some detective work, planning, and creativity you can easily organize your overflow on a budget.
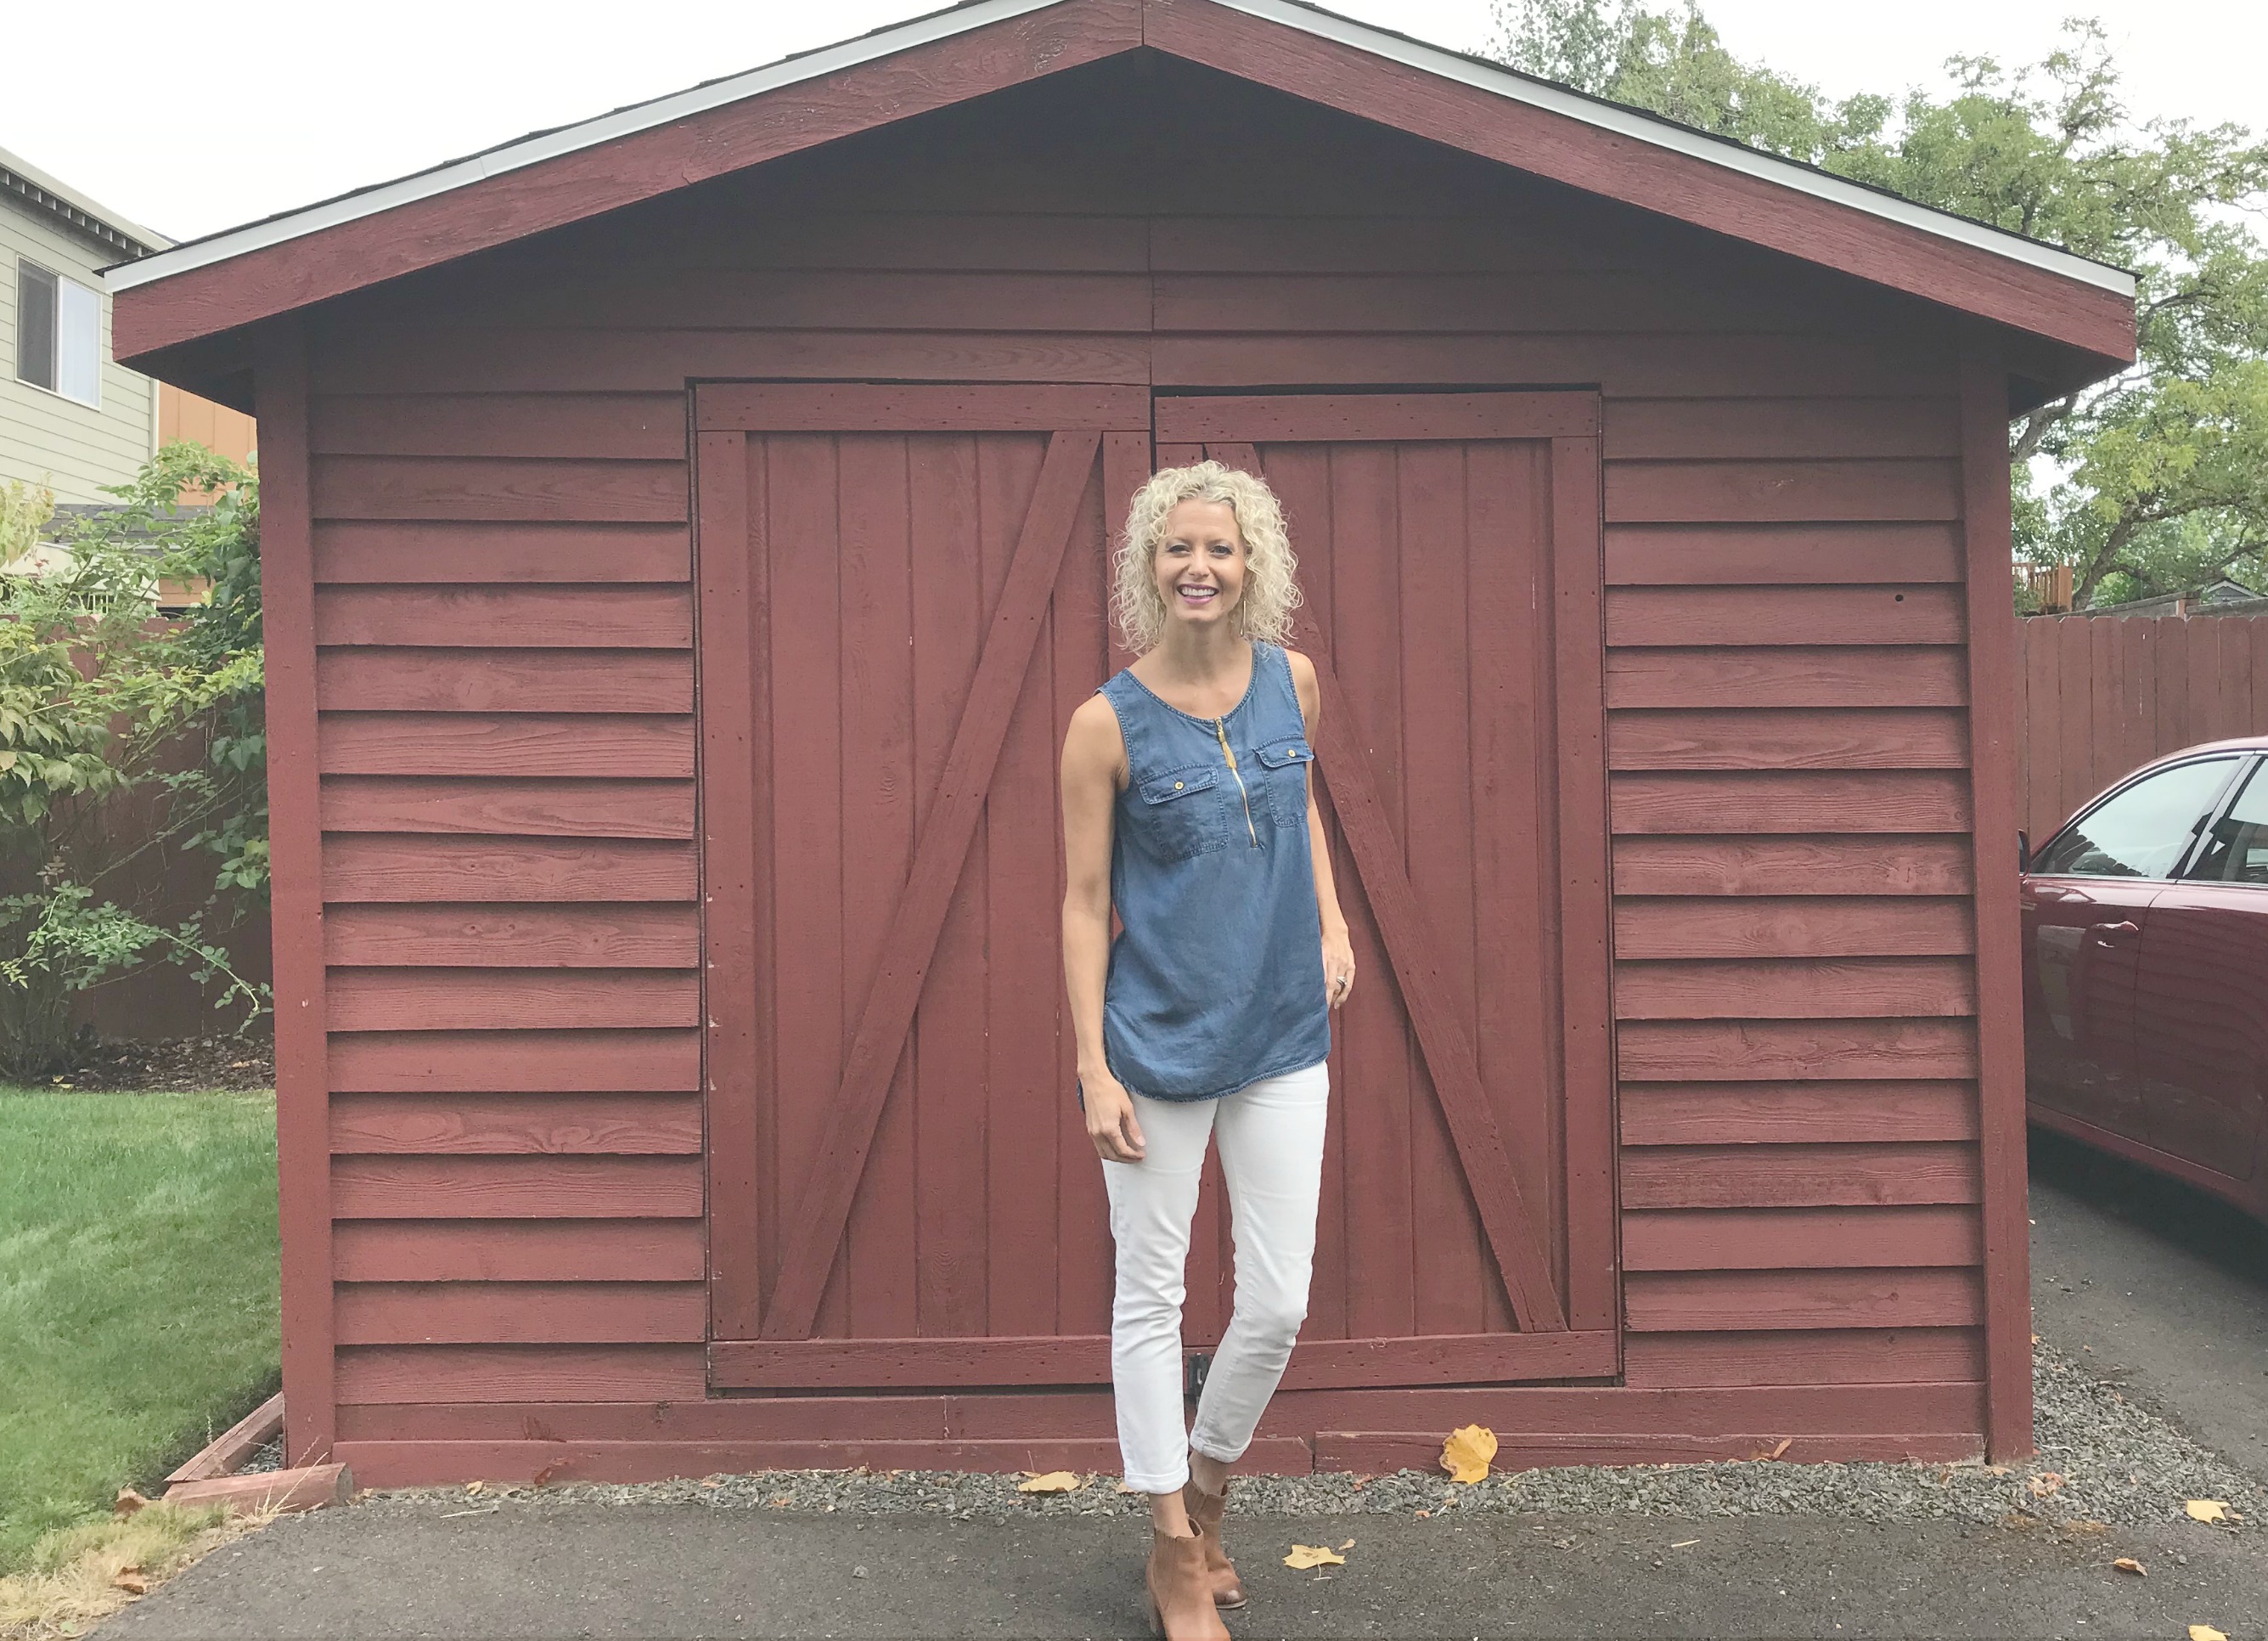
On More Good Day Oregon, we showed how we helped our client Juliana creatively organize and store her overflow items without spending a dime:
Juliana called Restoring Order because she was getting overwhelmed with her space and feeling a lack of focus. She didn’t have time to dedicate to getting organized. An outside perspective and some helping hands were needed to creatively solve her organizing challenges.
One of the most common obstacles to getting organized is a perception of “lack of time.” The only way to overcome this is to make an opposite commitment!
Juliana faced down her stuckness and decided to enlist the help of Restoring Order. We were thrilled to help her invest in her quality of life.
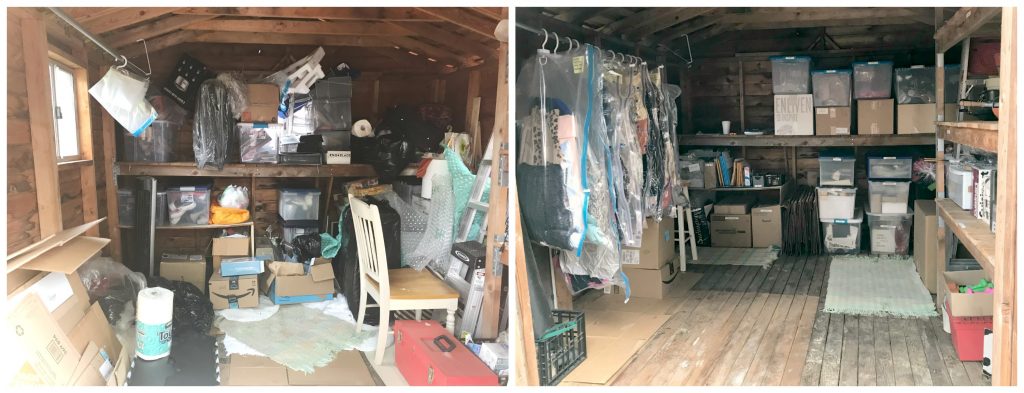
Through our investigative process in Juliana’s home, we determined that her overflow items could go in the outbuilding in her backyard.
We had to be intentional in order to avoid the “stashing solution” organizing mistake. Drowning in stuff, too many people cart off their household “overage” to an offsite storage unit and simply relocate their belongings, resulting in sprawling stuff, and no more order.
Below is the process we followed in Juliana’s space to determine that using a shed for storage was a good idea.
3 Tips to Assess Overload & Outbuilding Storage
1. Assess areas of overflow – know what you need to store
Before you begin, resist the urge to stash!
Grab a notepad and pen and tour your space. Make notes of where you have backup – piles, overflowing drawers or cabinets, and any areas of frustration. These areas are CLUES that are invaluable to coming up with creative solutions.
(We tend to look at our piles and frustrations as organizing failures and begin beating ourselves up. However, if we start seeing our clutter as CLUES to what’s-not-working, we can discern creative solutions to declutter our space!)

In Juliana’s home we found the following clues:
- An area in her living room was piled with boxes and mailing supplies because Juliana frequently sends packages to family. In other words: she needed a shipping center
- Lots of clothes and not enough closet space. Extra racks were brought in for hanging clothes and even the linen closet was being used to hold clothing. She needed to create an overflow wardrobe area.
- Bulky kitchen items had no where to live in the kitchen. She needed an overflow pantry area.
After assessing the areas of overflow in Juliana’s home, we could start devising a plan for creating more space.
Prior to simply moving her overflow to a new location, we also performed a sort and prune process! Simplifying your stuff is a key to optimizing storage. Read more about the Pruning Principle here.
2. Commandeer outbuildings for extra storage space
After assessing Juliana’s overflow and pruning her belongings, we realized there simply weren’t any more nooks and crannies we could optimize. And there just wasn’t room for additional shelving in her home.
When considering storage space, consider your whole property! Whether it’s a shed, a carport, or a garage, this is square footage that shouldn’t be taken for granted, especially when you have a small home.
Garages are often a convenient solution for overflow home items. However, Juliana didn’t have that option.
So, we took over shelves in a less-obvious spot – the shed. We cleared out and cleaned up the space, reclaiming the shed real estate, turning it into usable space.
3. Create centers within your project
This isn’t just a stash and store project! To deal with overflow storage needs, take back real estate and transform it into USABLE space. So, before boxing and transferring your items, some thoughtful planning will go a long way.
Creating centers for each type of overflow item makes it easy to find and put away belongings. Here are the steps for establishing these centers:
- Assess quantity of items to be stored
- Assess shelf space in storage area
- Consider how frequently you’ll need to access each type of item and prioritize shelf space accordingly
- Label centers

In Juliana’s shed we created three centers to handle her overage:
- Shipping Center
- Wardrobe Center
- Pantry Center

Juliana’s shipping center consists of labeled bins to hold items she is planning on sending to family, supplies such as boxes, envelopes, tape, and pens, and an empty shelf for assembling boxes right on the spot. Instead of a pile in her living room, Juliana now has a dedicated space to store and package her gifts!

In the overflow wardrobe center we used airtight, sealable, hanging bags to store off-season clothing. Each bag is clearly labeled with the contents, so she can easily grab what she needs when the seasons change. Hanging these bags allows Juliana to effortlessly peruse her items and find what she needs. Utilizing vertical space in the shed saved valuable shelf space for her final center – the overflow pantry.

The kitchen center we created was an overflow for bulky kitchen items and infrequently used appliances. We stored the most frequently used items at eye-level for easy grab-and-go. Juliana is thrilled to have more space in her kitchen and her home and to be able to easily access the overflow when she needs it.
One of the best things about this project is that we didn’t spend a dime on organizing products! Organizing doesn’t have to be expensive – repurpose what you already have! We used bins, boxes, and labeling materials that we found around Juliana’s home to create this organized space.
Organizing isn’t about your space looking photo-worthy; it’s about making your home work for YOU. No matter the size of your budget, look around your home and use what you have and you’ll be amazed with the results!
Related:
- Don’t miss a thing! Get our blog straight to your inbox by subscribing today
- For hands on help with getting organized, hire an order restorer
- Ready to reclaim your life? Take our online Life Reclaimist Series and take back your Household, Work, Health, and Spirit
- Subscribe to our YouTube channel for more organizing videos
- Watch more from More Good Day Oregon on Fox 12 Oregon